Microscope Camera: Practical Tests (Screen & Eyepiece Image)
Published on August 19, 2016 by TIS Marketing.
Originally published in Mikroskopie in January 2016, this article was written by J. Piper and M. Torzewski. The English translation, written by Amy Groth, was serialized into: 1, 2, 3, 4, 5, 6, 7, 8, 9, 10 and 11.
Practical Tests
Screen Image
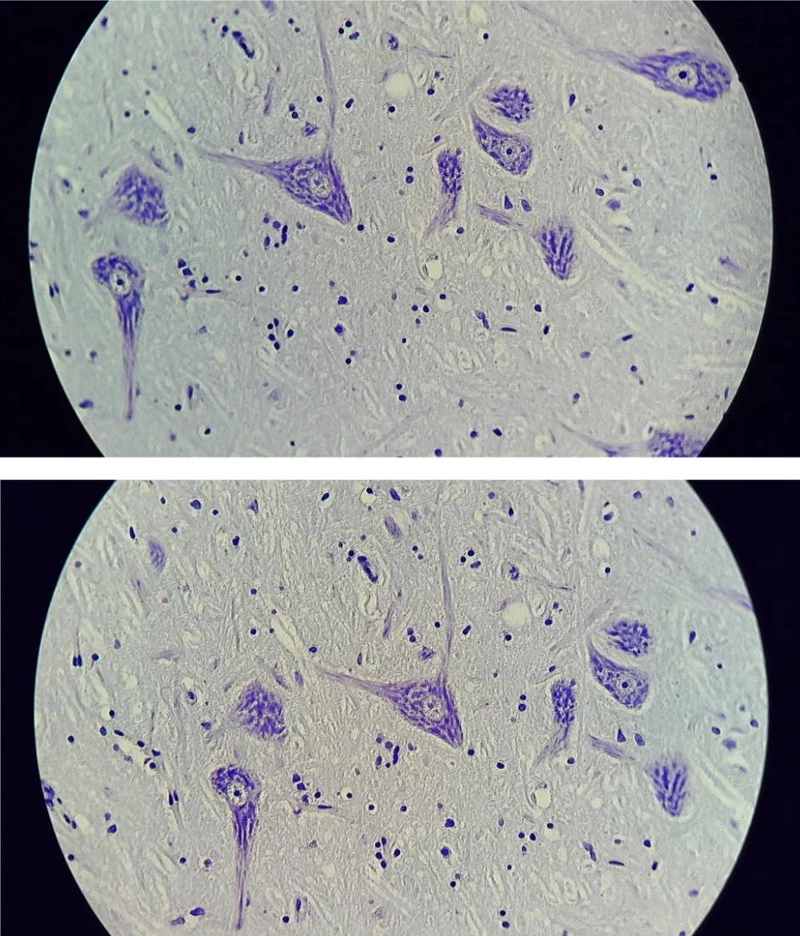
According to all tests which were carried out, adequate adjustment of the camera and its accompanying eyepiece (barrel diameter: 30mm) on the eyepiece head of a binocular observation tube will ensure a usable, that is, vignette-free and evenly illuminated image which can be presented via the monitor from probably every microscope. The most sensible choice of resolution for live demonstrations (namely the maximum video resolution of 920 x 1080 pixels) delivers, at 30 FPS, a smooth, fluid image using either IC Capture or IC Fullscreen Presenter. Adjustments to the stage, made at a normal speed, can be accomplished without annoying blurring effects. At a zoom factor of 1.0, a round edge demarcation can be seen. By moderately zooming the image, however, a presentable full image without vignetting can be produced (Fig. 6).
Camera Eyepiece
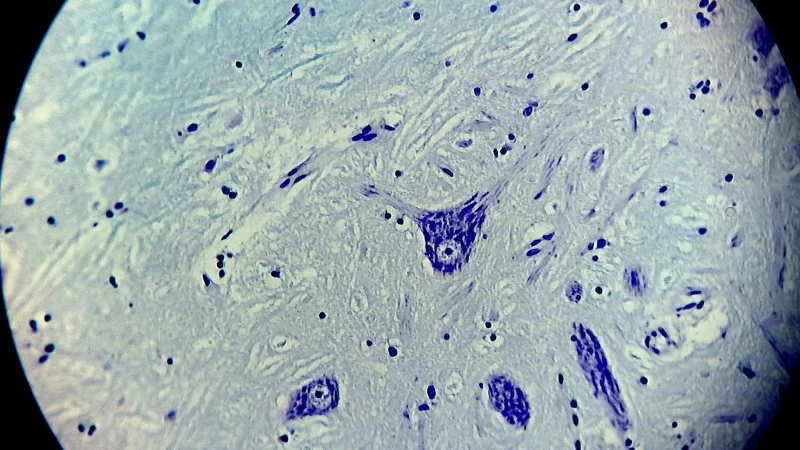
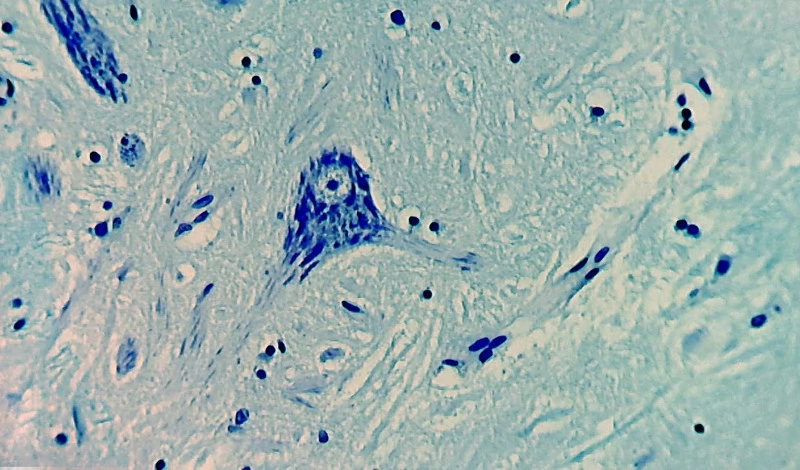
Specifically, we tested the camera with its integrated eyepiece on large-field microscopes from the manufacturers Leitz, Leica and Carl Zeiss Jena. It should be mentioned, however, that with all of these microscopes, the images generated with the included eyepiece showed a moderate loss of edge sharpness. This is noticeable when infinity-corrected plan objectives with a fully corrected intermediate image are used (e.g. Leica DMLB-microscope). The difference in planarity between the original eyepiece from Leica and that of the camera can be seen by simple direct observation: Using the same tube, one eyepiece is simply exchanged for the other to view the specimen (ideally a thinly-sliced planar specimen). Both eyepieces deliver a sharp image without additional adjustment which indicates that their parfocal lengths are the same. With the Leica eyepiece, the viewed image is absolutely sharp at the edges. Whereas the camera eyepiece (Field Number 22) only delivers a planar, sharp image without any recognizable loss of edge focus in the center of the field of view; this roughly corresponds to Field Number 18 (Fig. 7). Even when the image is enlarged just enough so that the vignette around the field of view disappears, there is still some edge softness visible in the upper right and left corners of the image (Fig. 8); apart from this, however, the sharp image center is impressive because of its high precision rendering of fine structures.
In addition to standard optical microscopes, the camera / eyepiece combination can be easily adapted to stereo microscopes (tested on Leica stereo microscope M 80). At the comparatively low magnification of such a microscope, the less-than-ideal edge focus of the camera ocular is barely noticeable at the visible peripheral edge (Fig. 9).
The assembly of the camera / eyepiece combination on a C-Mount port can be problematic, however, at least when the respective trinocular is designed with another ocular in mind. Such is the case with the Leica DMLB; whose phototube is equipped with a special projection eyepiece which cannot be exchanged with standard eyepieces. Consequently, so mounted in the microscope's C-Mount port, the camera / eyepiece combination did not deliver a usable image.

Combination with Other Eyepieces
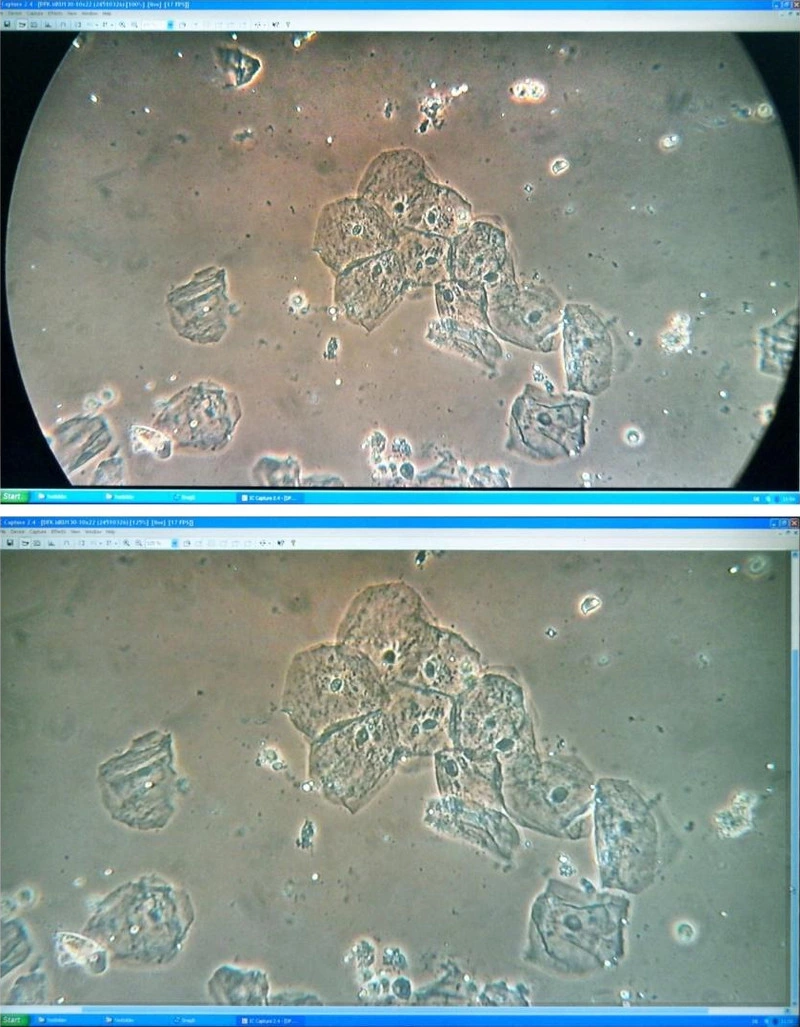
By removing the included camera eyepiece, the camera and camera tube can be mounted on many other microscopes having similarly sized (i.e. diameter) eyepieces. In this simple and uncomplicated way, the camera was adapted to a Leitz HM-Lux 3 student microscope fitted with its original 10x Leitz Periplan large field high-eyepoint eyepiece (Field Number 18). The camera tube fit exactly over the rubber eyeguard of one the Leitz eyepieces. From Fig. 10, one can see that even with such a simple student microscope, the aforementioned method produced respectable phase contrast images.
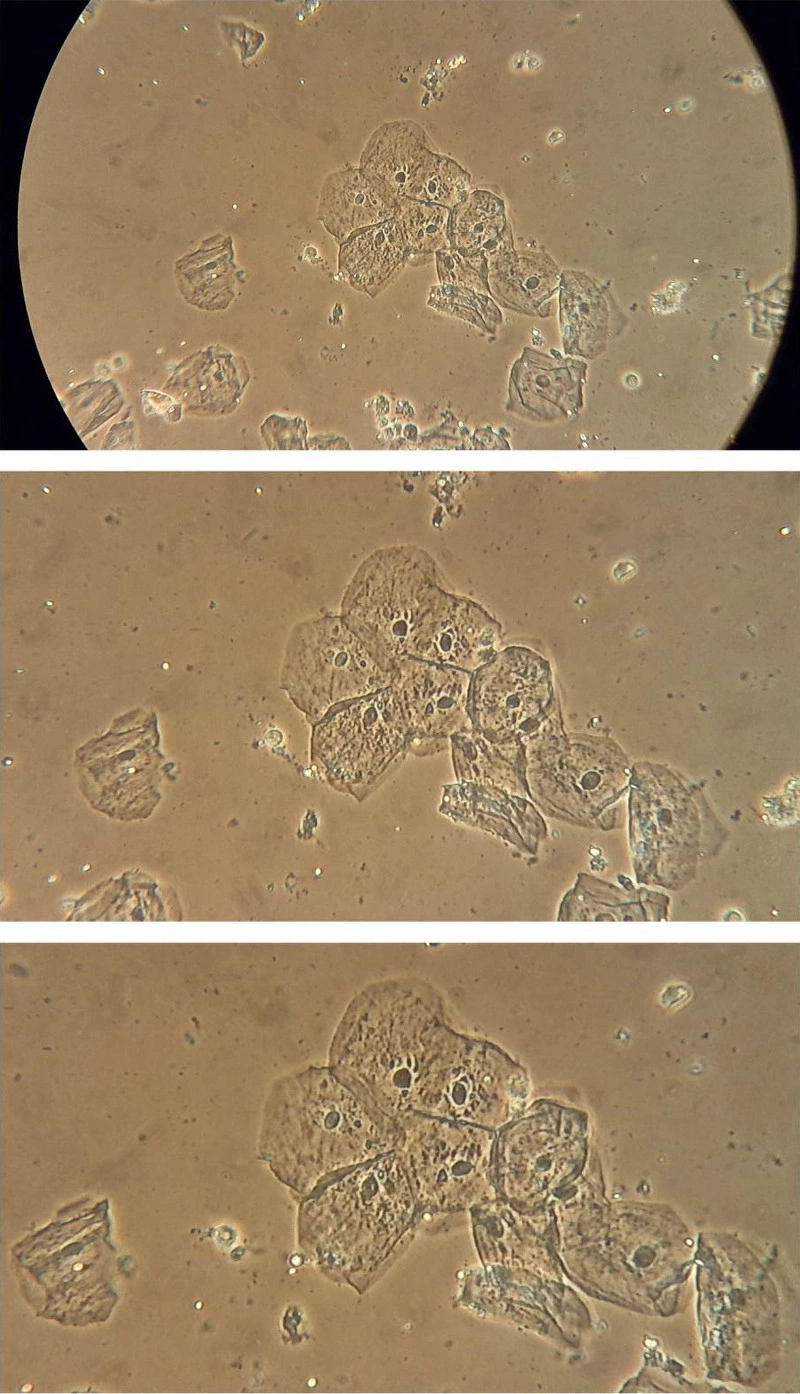
Even older optical microscopes (e.g. with a cast iron base, mirrors and basic objectives with lower field numbers such as the Studio-Mikroskop and Enuro-Optik) and microscopes with non-standardized eyepieces and objectives with an even smaller diameter (e.g. the Bresser Biolux AL that was sold a few years ago through grocery stores) could be successfully used; with all of these microscopes a livestream of the viewed image, video-clips and color images were possible. Those with significantly smaller diameters, must occasionally be fitted with a paper cuff (as mentioned earlier in the article) so that the camera tube can be securely fitted to the tube head without axial deviation or canting. Properly trimmed strips of paper or paper towels affixed with tape were adequate to the task.
As a matter of principle, the camera can be placed directly (i.e. without the lens-less camera tube) over the microscope's own ocular lens if the diameter of the original eyepiece is larger than the internal diameter of the camera tube so that the eyepiece does not slide into the camera tube. In the best case scenario, the camera body can be mounted directly on the ocular lens mounting flange. For test purposes, this strategy worked perfectly for the Leica DMLB. One person stabilized the camera on the Leica eyepiece while a second person operated the computer and captured the images. In so doing, the differences between the camera's ocular versus that from Leica could be easily visualized. The edge softness produced by the camera's eyepiece was not a problem when the original Leica eyepiece was used and was additionally characterized by an increase in image sharpness and improved contrast (Fig. 11).
